

Project Editor
What this covers
Section titled “What this covers”This page introduces the project editor — the screen where you build and configure a 3D scene project. It covers the top bar, the three main tabs (Scene, Scripting, Preview), and the playback controls used to test your scripted behaviors.
You open the project editor by selecting a project from the Project Manager.
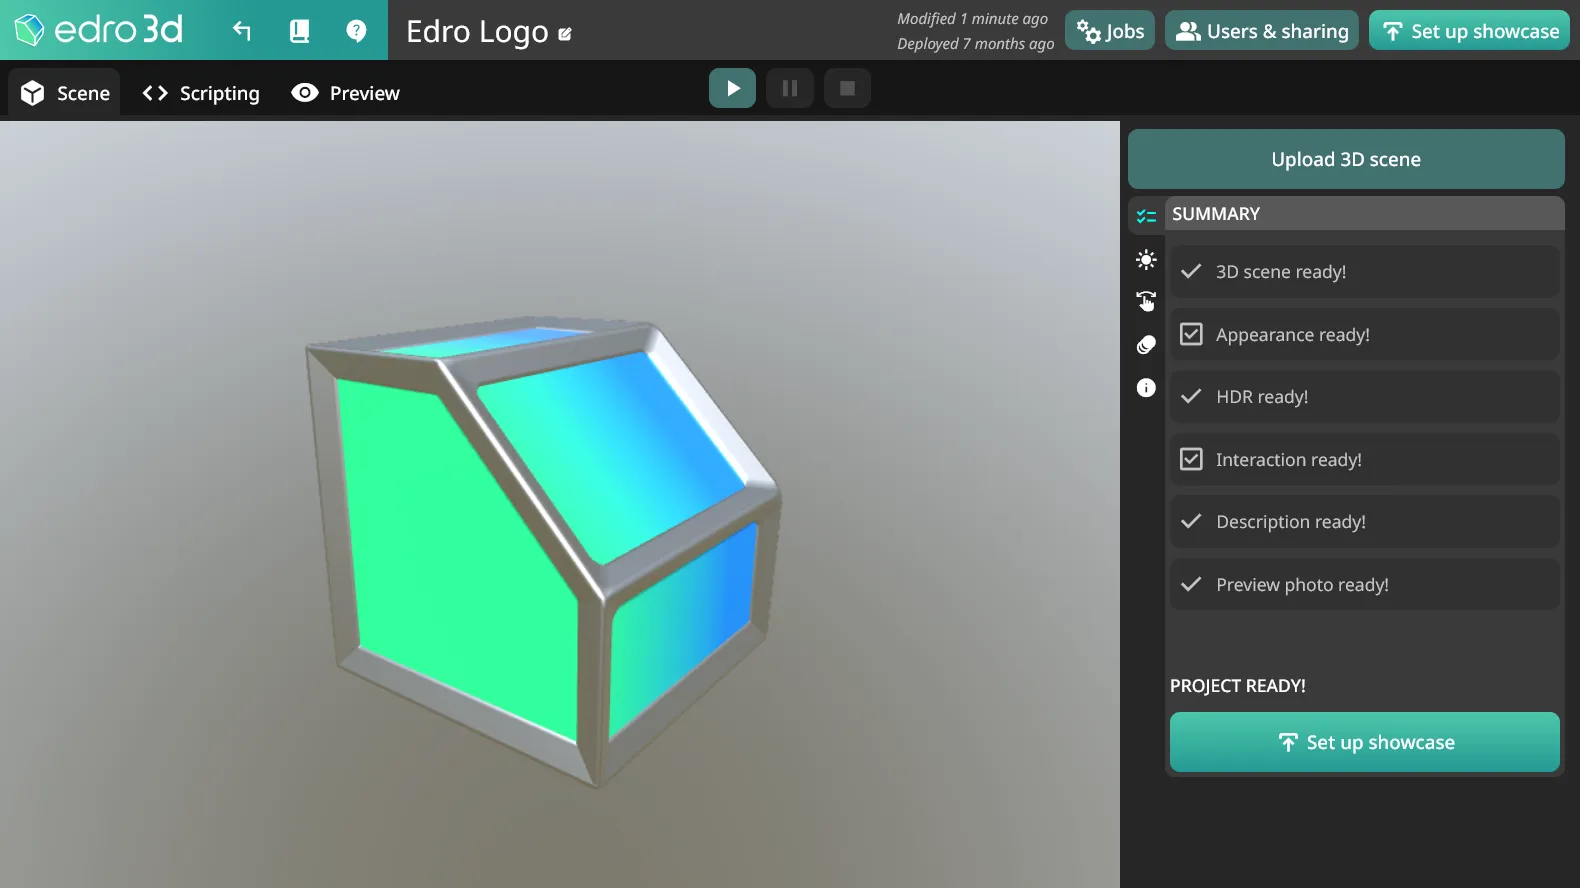
Top bar
Section titled “Top bar”The top bar is always visible, regardless of which tab is active:
| Element | Purpose |
|---|---|
| Project name | Click the name to rename the project inline. |
| Jobs | Opens a panel listing background processing jobs (e.g. 3D scene uploads) and their status. Use it to monitor ongoing tasks and debug issues on your uploaded scenes. |
| Users & sharing | Owners only. Opens a dialog to invite users and manage per-project roles. See Roles & permissions. |
| Set up showcase | Opens the deploy dialog to publish the project as a showcase. See Showcases & Embedding for more details. |
Below the top bar, the editor is split into three tabs:
Scene tab
Section titled “Scene tab”Shows the 3D viewport alongside a sidebar of settings, including the options to upload a 3D scene.
Scripting tab
Section titled “Scripting tab”Shows the node-graph editor used to script interactive behaviors — clicks, hovers, scene variables, and more.
Preview tab
Section titled “Preview tab”Shows a live, embedded player running your project exactly as it will appear on the published showcase, including any scripted behaviors. Use this tab to test interactions before publishing.
Playback controls
Section titled “Playback controls”Next to the tabs, three playback controls let you run the Preview tab from anywhere in the editor:
| Control | Behavior |
|---|---|
| ▶ Play | Starts or unpauses the preview |
| ⏸ Pause | Pauses a running preview |
| ■ Stop | Stops the preview entirely |