
Introduction
What this covers
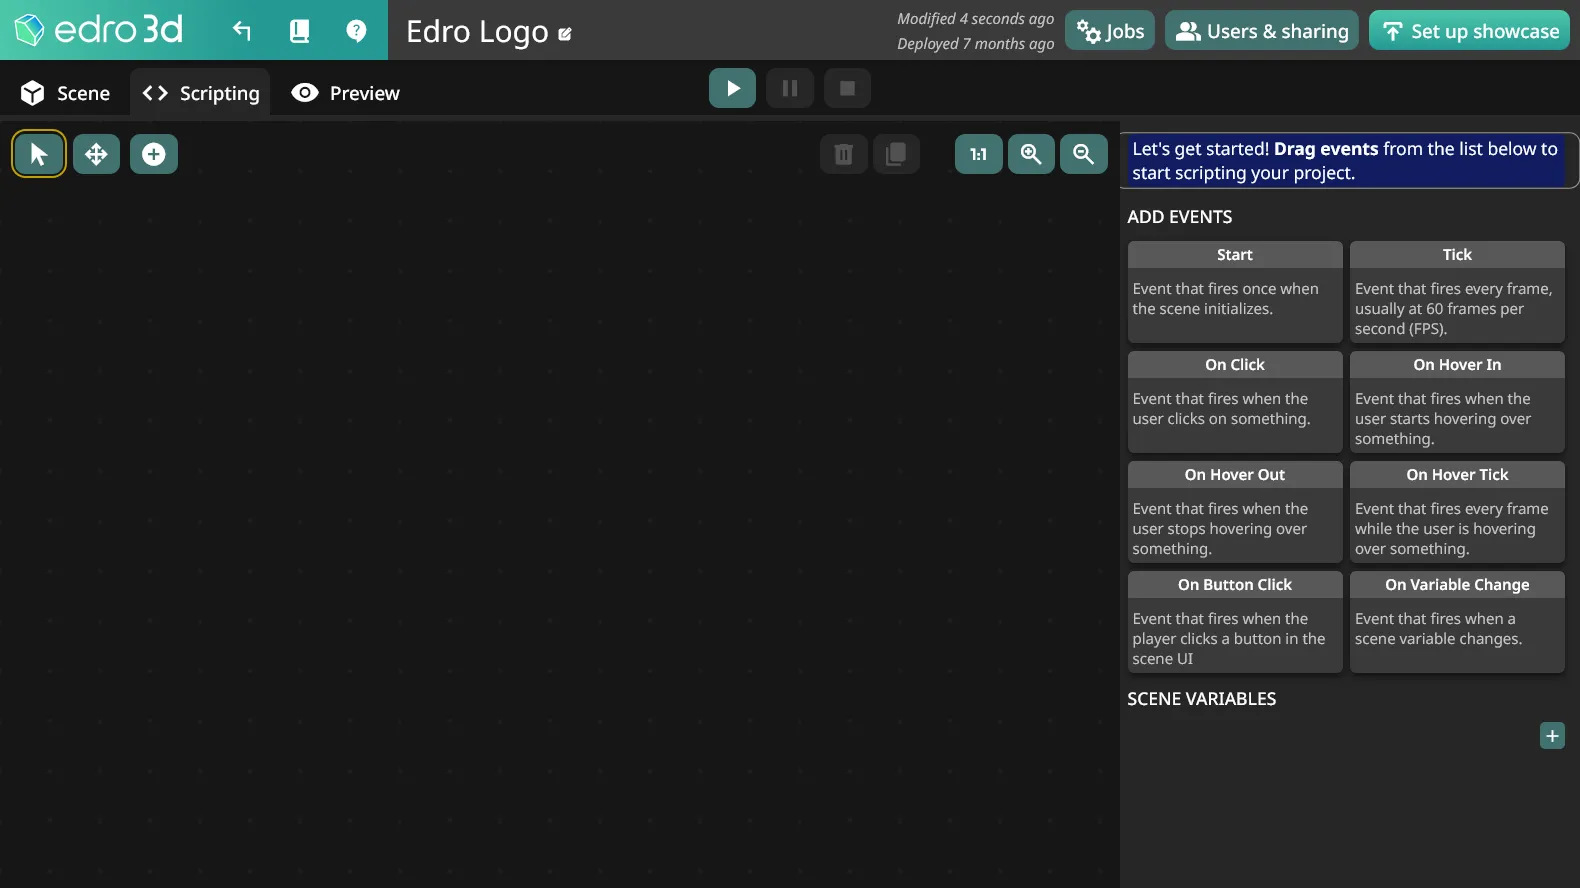
Section titled “What this covers”The Scripting tab lets you add interactive behaviors to a 3D scene — reacting to clicks, hovers, and custom variables — by connecting nodes in a visual graph, without writing code. This page covers the basics of the node-graph editor: how to add and connect nodes, the graph controls, and the available events.
When to use it
Section titled “When to use it”Use the Scripting tab whenever you want your showcase to do something beyond static viewing — for example, toggling visibility when a visitor clicks an object, playing an animation on hover, or driving a UI control that changes a scene variable.
Layout
Section titled “Layout”The Scripting tab has two areas:
- The node graph, taking up most of the screen, where you build behaviors by placing and connecting nodes.
- The sidebar, on the right, which lists available event nodes you can drag into the graph, plus the Scene Variables panel.
Adding and connecting nodes
Section titled “Adding and connecting nodes”-
Add an event node — Drag one of the event cards from the sidebar (for example, Start or On Click) onto the graph. Every behavior begins with an event node.
-
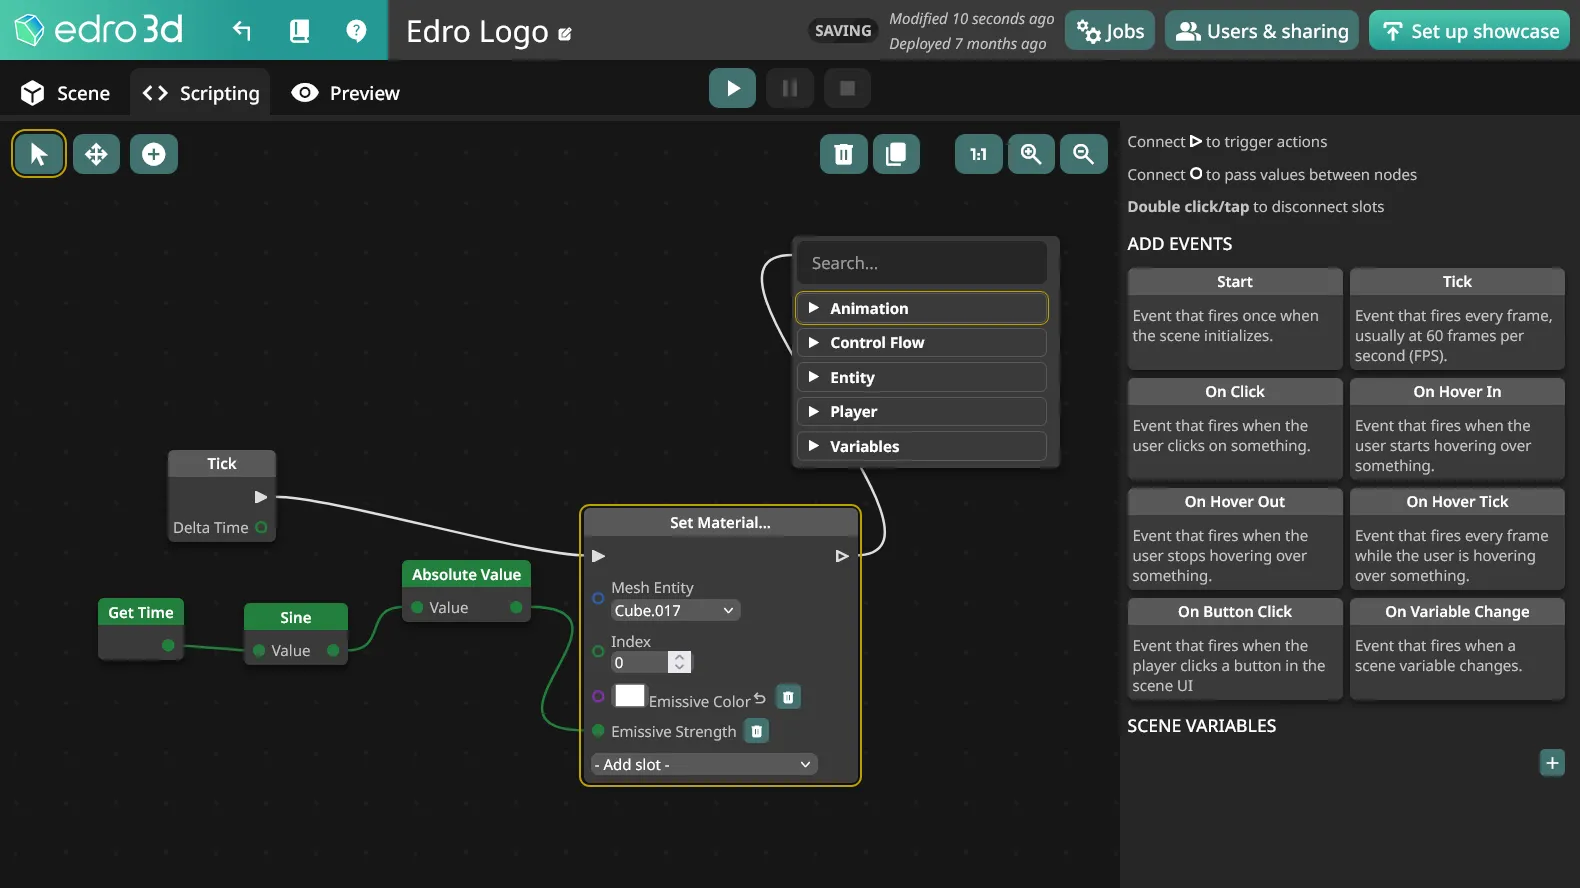
Add follow-up execution nodes — Click the white arrow ( ) and drag a line. Release it to open the node search menu, then search for and add nodes for the actions or logic you want to run (e.g. moving an entity, playing an animation, changing a scene variable). See the Scripting Nodes reference for the full list of available nodes by category.
-
Connect value slots — Draw a line from a node’s round output slot ( ) to another node’s input of a matching type to pass a value between them. Each color represents a different data type.
Controls
Section titled “Controls”The node graph can be navigated and edited with both mouse and touch controls. You can switch the primary action by selecting a tool, using the top left buttons.
| Action | Mouse Control | Touch Control |
|---|---|---|
| Zoom in/out | Mouse wheel | Buttons in top right area |
| Pan the view | Right-click and drag an empty area, or “Pan” tool | Use the “Pan” tool |
| Move a node | Click and drag the node’s header. | Tap and drag the node’s header. |
| Draw a connection | Click a slot icon and drag to another compatible slot or an empty area. | Tap a slot icon and drag to another compatible slot or an empty area. |
| Disconnect a connection | Double-click or right click the slot icon. | Double-tap the slot icon. |
| Select a node | Click the node’s header. | Tap the node’s header. |
| Select multiple nodes | Use the “Select Nodes” tool and drag a selection box around the nodes. | Use the “Select Nodes” tool and drag a selection box around the nodes. |
| Add a node | Right-click an empty area and select a node from the menu. | Use the “Add node menu” tool |
| Delete a node | Select the node and press the Delete key. | Select the node and use the delete button in top right area. |
Events
Section titled “Events”Every graph starts from an event node — a node that fires automatically when something happens. Available events include:
| Event | Fires when |
|---|---|
| Start | The scene initializes. |
| Tick | Every frame, usually 60 times per second. |
| On Click | User clicks on an entity. |
| On Hover In / On Hover Out | User starts or stops hovering over an entity. |
| On Hover Tick | Every frame while the user is hovering over an entity. |
| On Button Click | Triggered when the user clicks a button in the scene UI. A specific button is added to the UI for each event, use Label to set the text inside the button. All buttons get ordered based on their Sort value, highest value appears top. |
| On Variable Change | A scene variable’s value changes. See Scene variables. |
See the Event nodes reference for the full inputs and outputs of each event.
Testing your script
Section titled “Testing your script”Use the Preview tab and the play/pause/stop controls to run your project and confirm the scripted behaviors work as expected.